How to Setting Up VPN on Mac OS X
Show you how to configure your MAC OS X VPN to set up a Virtual Private Network (VPN) connection.
STEP 1
Pleas open the ‘Applications’ folder by going to the Finder and choosing “New Finder Window” from the “File” menu.
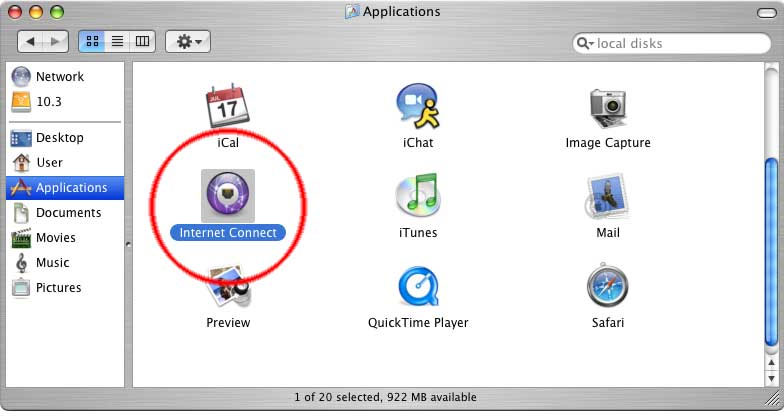
Click on the "Applications" icon on the left as shown in the image above, then scroll down to "Internet Connect" icon.
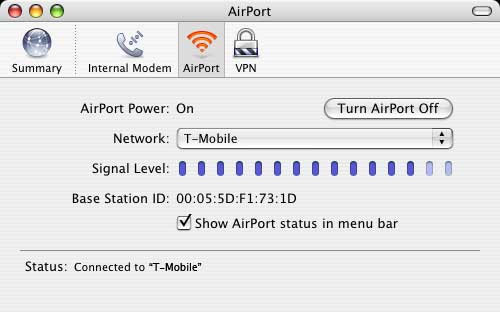
STEP 2
Double–click on the “Internet Connect” icon. You will see something simillar to the image below.
Step 3
Go to the ‘File’ menu and select “New VPN Connection Window.”

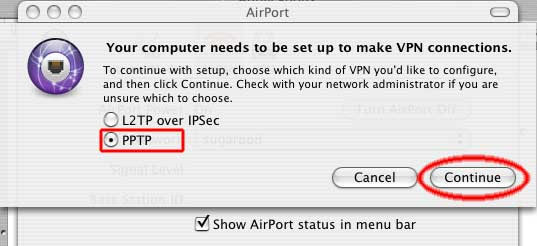
Step 4
You will see a the following screen (see image). Click on ‘PPTP,’ then click ‘Continue.’
Step 5
The next screen click "edit configuration" in order to enter the Connection Information
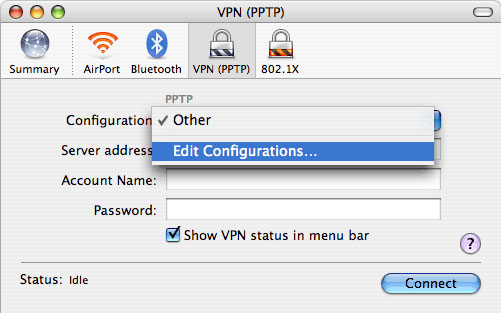
Step 6
You wil be asked for information regarding the connection as shown in the image
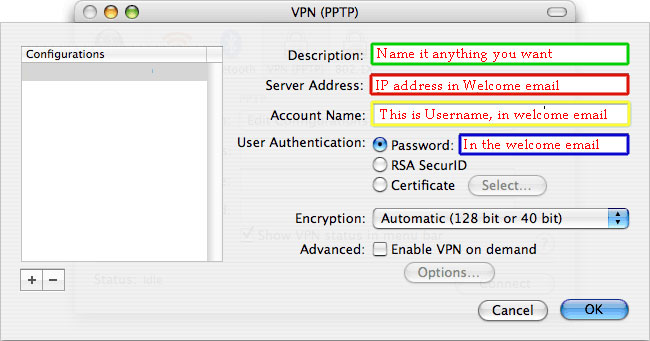
For VPN configuration. Type 'VpnAccounts.com' "PPTP VPN" or anything you like as the Description.
The "server Address" is provided in the welcome email.
For Account name, enter the username provided in the welcome email.
For "user authentication, select "password" and it is found in the welcome email.
"Enable VPN on demand" should be unchecked, and "Encryption" should be set to "Automatic".
Click "OK". Your configuration is saved, and you're ready to connect!
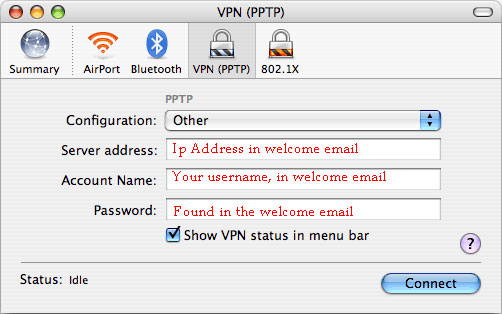
Step 7
To connect, double click on “Internet Connect,” click on “VPN (PPTP)”, then click the ‘Connect’ button.
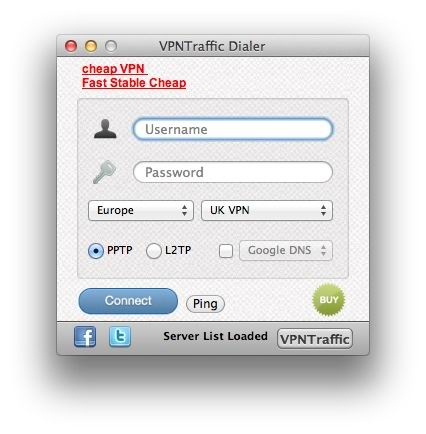
or you can download vpn dialer for Mac