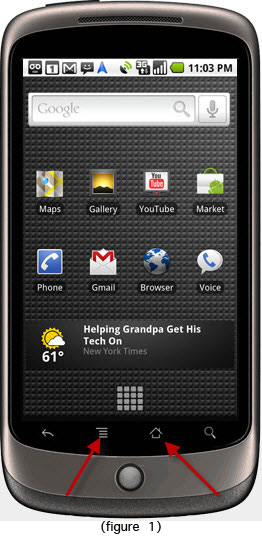
Press the Home icon, press Menu, and tap Settings
Tap Wireless & networks
Tap VPN settings
Tap Add VPN
Select the type of VPN to add (PPTP, L2TP, L2TP/IPSec PSK VPN, L2TP/IPsec CRT VPN)
Fill in VPN details such as VPN name, VPN server, etc (the required settings will depend on type of VPN selected)
Connecting to the VPN:
Press the Home icon, press Menu, and tap Settings
Tap Wireless & networks
Tap VPN settings (figure 2 above)
The VPN connections you have added are now listed
Tap the VPN you wish to connect to
A dialog box will open asking for your credentials, enter them and touch connect
When connected to a VPN, you will see an ongoing notification in the Status bar on your Nexus One. If you should get disconnected, you will receive a notification and an option to go back to the
Android VPN Settings section.
Get the app from Android Market:
|
$5 Package=One Account=US,AU,UK,CA,Russia,Italy,Spain,Japan,Korea,HK,India,etc.
You can switch between our servers at any time (35+ country vpn server)
1 Month/30 days
• Only $5
• High Speed
• All country server

3 Months/90 days
• Only $10
• High Speed
• All country server
One Year/365 days
• Only $35
• High Speed
• All country server
|
|
|


 US
US  UK
UK 

 France


.gif) Germany
Germany 


 Ireland
 Romania

 Hong Kong
  Korea
Korea 
 Philippines
 Thailand
  Indonesia
 China
China  Singapore
 Mexico
  United Arab Emirates
  Turkey


 Argentina


